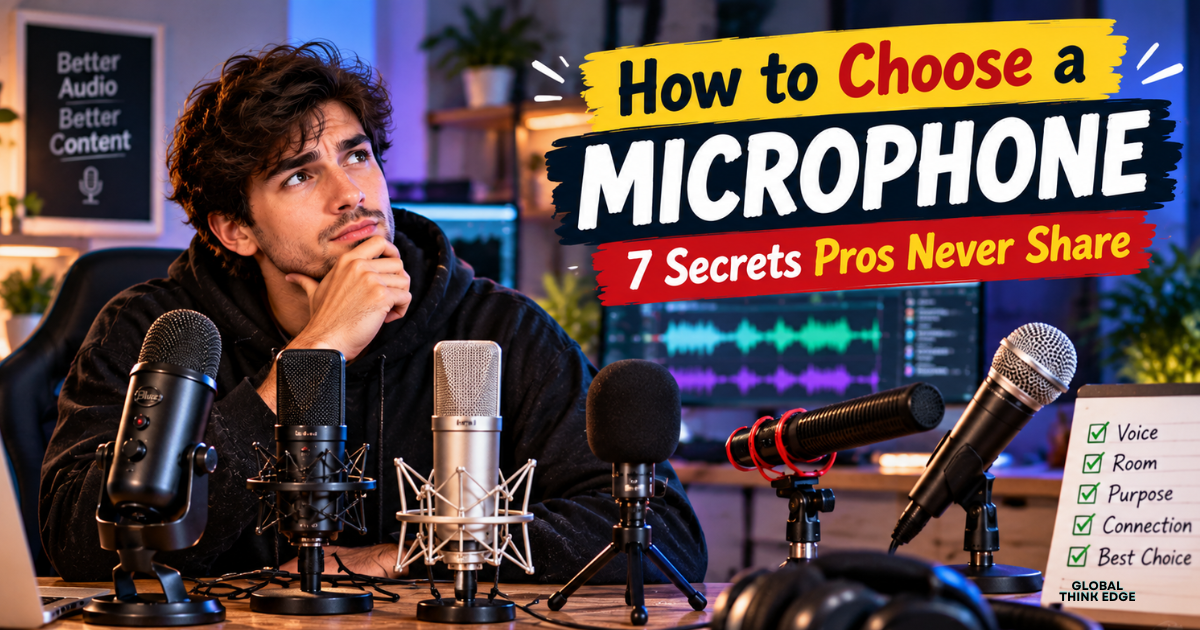
How to Choose a Microphone: 7 Secrets Pros Never Share
When I bought my first microphone, I made the classic mistake: I picked the one with the most impressive spec sheet and the shiniest reviews, plugged it in, and sounded like I was recording from inside a cardboard box. The mic wasn’t bad. It just wasn’t right for my room, my voice, or my setup.
That experience is why I wanted to write this post. If you’re trying to figure out how to choose a microphone, you don’t need to memorize technical jargon. You just need to match three things: what you’re recording, where you’re recording it, and how you plan to connect the mic. I’ll walk you through each one, answer the questions I hear most often, and share the small tricks that made the biggest difference to my own audio.
Grab a coffee, and let’s get into it.
Start With What You Actually Need
Before I look at a single product page, I ask myself one simple thing: what am I going to use this for? A mic that’s perfect for a podcast can be a poor choice for a live band, and a studio vocal mic can be a headache in a noisy bedroom.
What type of microphone is best for me?
Honestly, there’s no single winner, and anyone who tells you otherwise is selling something. Here’s how I narrow it down:
- Podcasting, streaming or video calls at home: I lean toward a dynamic mic if my room is echoey or noisy, or a USB mic if I want the simplest possible setup.
- Vocals or acoustic instruments in a quiet, treated room: a condenser mic will capture more detail.
- Loud sources like guitar amps, drums or live stages: a dynamic mic handles the volume and ignores most of the background.
- Moving around while filming or interviewing: a wireless mic gives me the freedom I need.
If you’re unsure, start with your room. A quiet, soft-furnished room opens up your options. A bare, echoey room points you toward a dynamic mic every time.
What are the three main types of microphones?
The three main types are dynamic, condenser and ribbon microphones. Almost every mic you’ll come across falls into one of these groups, so understanding them is half the battle.
- Dynamic microphones are tough, forgiving and great at ignoring background noise. Think of the Shure SM58 or the Shure SM7B.
- Condenser microphones are sensitive and detailed. The Audio-Technica AT2020 and Rode NT1-A are popular examples.
- Ribbon microphones sound warm, smooth and a little vintage, but they’re delicate and mostly used in specialized studio work.
Can you explain the different types of microphones and how they work?
Sure, and I’ll keep it painless. Every microphone turns sound waves into an electrical signal. The difference is how they do it.
A dynamic mic uses a thin diaphragm attached to a small coil that moves around a magnet. When sound hits the diaphragm, the coil moves and generates a tiny electrical signal. Because it’s a simple, rugged design, dynamic mics can take a beating and handle very loud sounds.
A condenser mic works more like a tiny capacitor. A very light diaphragm sits close to a fixed plate, and as sound makes the diaphragm vibrate, the gap changes and so does the electrical signal. This design picks up delicate detail, but it needs power to work. That’s why condenser mics ask for phantom power (+48V) from an audio interface or mixer.
A ribbon mic suspends a very thin strip of metal in a magnetic field. The ribbon moves with the air, producing that smooth, warm tone people love, but it’s fragile, so I treat ribbon mics with extra care.
Picking the Right Connection: USB, XLR or Wireless
The next decision is how the mic talks to your gear. This one affects your budget more than people expect.
- USB microphones plug straight into a computer or laptop. They’re the plug-and-play choice for podcasting, streaming and Zoom calls, and you don’t need any extra equipment.
- XLR microphones give you professional audio quality and plenty of room to upgrade later, but you’ll need an audio interface, mixer or recorder to use them.
- Wireless microphones offer total freedom of movement, which is ideal for video creation, interviews and mobile recording.
If you’re just starting out, I usually suggest USB for simplicity. If you think you’ll grow into a bigger setup, XLR is the smarter long-term investment.
How to choose which microphone to use in Windows 10?
This trips up a lot of people, including me the first time. Once your mic is plugged in, here’s what I do:
- Open Settings, then go to System and click Sound.
- Under Input, open the dropdown and pick your microphone from the list.
- Speak into it and watch the input level bar move to confirm it’s working.
- If it doesn’t show up, check Privacy settings and make sure apps are allowed to access your microphone.
Also check the input setting inside your recording or meeting app, since many programs have their own microphone dropdown that overrides the Windows default.
Understanding Polar Patterns
Polar patterns sound intimidating, but they simply describe where a mic listens. I think of it as the mic’s field of view.
- Cardioid picks up sound from the front and rejects noise from the back and sides. It’s the best fit for home studios and voice work, and it’s what I’d choose for most people.
- Omnidirectional captures sound equally from all 360 degrees. It’s great for group conversations or capturing the ambience of a room.
- Figure-8 picks up sound from the front and back while rejecting the sides. It’s ideal for face-to-face interviews or duets.
If you record alone at a desk, cardioid is almost always the right call.
Quality, Cost and Brands
This is the section where I see people overspend or underspend, so let me share how I think about it.
What is a good quality microphone?
A good quality microphone is one that suits your voice and your space, stays quiet on its own, and sounds natural without a lot of fixing afterward. A cheap mic in the right setup will beat an expensive one in the wrong room, every time.
What makes a good quality microphone?
When I compare mics, these are the things I actually look at:
- Frequency response: a wide, fairly even response means your voice sounds natural.
- Self-noise: this is the hiss the mic produces by itself. Lower is better, especially for quiet recordings.
- Sensitivity and maximum sound level: these tell you how well the mic copes with whispers and loud sounds.
- Polar pattern: it should match how you plan to record.
- Build quality: solid construction and low handling noise matter more than people think.
How much should a good mic cost?
Prices change all the time, so treat these as rough ranges. A solid USB microphone often sits somewhere between $50 and $150. A dependable XLR dynamic or entry-level condenser can land in a similar range, but remember you’ll also need an audio interface. Premium broadcast and studio mics climb into the hundreds and beyond.
My rule is simple: spend on the mic that fits your use case first, then put leftover budget toward a pop filter, a boom arm and basic room treatment. Those extras often improve your sound more than a bigger price tag does.
Which brand of mic is best?
I don’t believe in one best brand. Shure, Audio-Technica, Rode, Sennheiser, AKG, Electro-Voice and Neumann all make excellent microphones, and each has a reputation for something different. Shure is famous for rugged dynamics, Rode and Audio-Technica are well loved for value-friendly condensers, and Neumann is a name you’ll hear in high-end studios. I’d rather pick a specific model that fits my needs than commit to a brand name.
What is the holy grail of microphones?
Ask ten engineers and you’ll get several answers, but the Neumann U 47 is the one most often described that way. It’s a vintage tube condenser with a legendary reputation for vocals. That said, it’s a collector’s item with a collector’s price, and I’d never tell a beginner to chase it. The holy grail for you is simply the mic that makes your voice sound the way you hear it in your head.
What Creators and Public Figures Use
I’ll be upfront: I love peeking at other people’s setups, but I take it all with a pinch of salt. Public figures change gear often, and the sound you hear is usually the result of a whole chain of equipment and a good engineer, not just one mic.
What is the microphone all the YouTubers use?
There isn’t a single mic, but a few types come up again and again. Many YouTubers start with USB mics because they’re affordable and easy. Others move to XLR dynamic mics like the Shure SM7B for a warm, broadcast sound, and plenty use wireless or lavalier mics when they’re filming on the move. My advice is to copy the approach, not the exact model: pick something suited to your room and your budget.
Which mic does MrBeast use?
I can’t confirm his current setup, and I’d be wary of anyone who claims to know for sure. What I can say is that his earliest videos show him talking about buying a Blue Snowball, a budget USB mic. It’s a nice reminder that big channels often start with modest gear and upgrade as they grow.
What mic does Drake use?
I couldn’t find a reliably confirmed model for his vocal chain, so I won’t guess. What’s generally true is that professional rap and pop studios often rely on high-end large-diaphragm condenser mics paired with quality preamps and well-treated rooms. For home recording, you can get surprisingly close in spirit with a good condenser and a quiet space.
What mic does Donald Trump use?
As far as I know, there’s no single famous mic tied to him. At public events, the audio is typically handled by the venue’s sound crew, who set up podium, handheld or headset mics depending on the stage. It’s a good example of how, in live settings, the engineer and the room often matter as much as the microphone itself.
What is the most commonly used microphone?
The Shure SM58 is arguably the most widely used vocal microphone in the world. It’s a handheld dynamic mic you’ll spot on countless stages, in rehearsal rooms and at karaoke nights. It’s durable, affordable and forgiving, which is exactly why it has stayed popular for so long.
What are the different types of stage microphones?
On stage, you’ll usually see a handful of types:
- Handheld dynamic mics for lead vocals and speakers.
- Wireless handheld mics for performers who move around.
- Headset mics for presenters, dancers and fitness instructors.
- Lavalier mics clipped to clothing for talks and theatre.
- Instrument and drum mics designed to handle loud sources.
- Boundary mics placed on surfaces to catch group sound.
Getting the Most Out of Your Mic
Buying the right microphone is only the start. Technique and setup make a huge difference, and these are the lessons I wish I’d learned sooner.
How close should a mic be to the face?
For most voice work, I keep the mic roughly 2 to 6 inches (about 5 to 15 cm) from my mouth, and I place it slightly off to the side or just below my mouth to avoid harsh “p” and “b” sounds. Sensitive condenser mics often like a little more distance. A pop filter helps, and the best approach is to record a short test, listen back, and nudge the distance until it sounds right.
Why do singers stand so close to the microphone?
There are a few reasons. Getting close raises the voice relative to background noise and other instruments, which is crucial on loud stages. It also triggers the proximity effect, a boost in low frequencies with directional mics that gives vocals a fuller, warmer tone. And on stage, staying close helps prevent feedback from monitors. Good singers also learn to move closer or farther depending on how loudly they’re singing.
How many dB should your microphone be?
This question usually means recording level rather than a fixed number for the mic itself. In digital recording, I aim for peaks somewhere around -12 to -6 dBFS, with the average level lower than that. The one rule I never break is to avoid hitting 0 dBFS, because that’s where clipping and distortion happen. Leaving some headroom keeps your recording clean and gives you room to edit later.
How can I make my mic better?
You can often improve your sound without buying anything new:
- Move closer, and speak slightly across the mic instead of straight into it.
- Add a pop filter and a shock mount to cut plosives and bumps.
- Use a boom arm so the mic isn’t picking up desk vibrations.
- Soften the room with rugs, curtains, blankets or bookshelves.
- Set your gain carefully so you’re not clipping or recording too quietly.
- Clean up leftover noise with editing software, using a light touch.
Using More Than One Mic
If you ever record a band, a panel or a drum kit, you’ll run into some classic techniques. I’ll keep these short and practical.
What is the 3 to 1 rule for microphones?
When I use more than one mic, I follow this rule: keep the distance between the mics at least three times the distance from each mic to its own sound source. This helps prevent phase cancellation, which can make recordings sound thin or hollow. People also ask, “What is the 3 to 1 mic rule?”, and it’s the very same idea, just worded differently. For example, if each mic is 1 foot from its speaker, I place the mics at least 3 feet apart.
What is the ORTF method?
ORTF is a stereo recording technique that uses two cardioid mics placed about 17 cm (roughly 7 inches) apart and angled about 110 degrees away from each other. It comes from French broadcasting, and I like it because it creates a natural, wide stereo image that still sounds focused. It’s great for acoustic instruments, choirs and room ambience.
What is the most famous drum miking technique?
The Glyn Johns method is one of the best-known approaches. It uses just a few mics, typically one overhead, a second one positioned to the side, plus a mic on the kick drum, to capture a natural, balanced drum sound. Close miking each drum with overheads is the other approach you’ll hear about constantly. If you’re recording drums for the first time, start simple and add mics only when you really need them.
Final Thoughts
So, how do you choose a microphone? Start with your use case and your room, pick the type that fits (dynamic, condenser or ribbon), decide how you’ll connect it, and choose a polar pattern that suits how you record. Then focus on technique, because a well-placed budget mic beats a poorly placed expensive one.
If you take just one thing from this post, let it be this: the best microphone isn’t the most famous or the most expensive. It’s the one that works for you. Test, listen, adjust, and enjoy the process. Your voice deserves to be heard clearly.
